

Introduction
Welcome, DevOps enthusiasts! Navigating collaborative code changes requires a robust understanding of Version Control Systems (VCS). This blog digs deeper into advanced Git functionalities like branching, reverting, resetting, rebasing, and merging, equipping you with the practical skills to manage your codebase efficiently and ensure seamless collaboration within your team.
Throughout this session, you'll gain insights into:
The power of branching: Learn how to isolate development efforts, ensuring safe experimentation, feature development, and bug fixing without affecting the core codebase.
Undoing mistakes: Explore the distinct functionalities of
git revertandgit reset, understanding how to safely revert accidental changes or re-organize your commit history strategically.Merging vs. rebasing: Grasp the nuances of both methods for integrating changes from different branches, understanding their impact on the overall commit history and choosing the right approach for your specific needs.
By the end of this blog, you'll be able to:
Confidently create and manage branches to streamline your development workflow.
Utilize
git revertandgit reseteffectively to undo mistakes or modify your commit history.Make informed decisions between merging and rebasing when integrating changes from various branches.
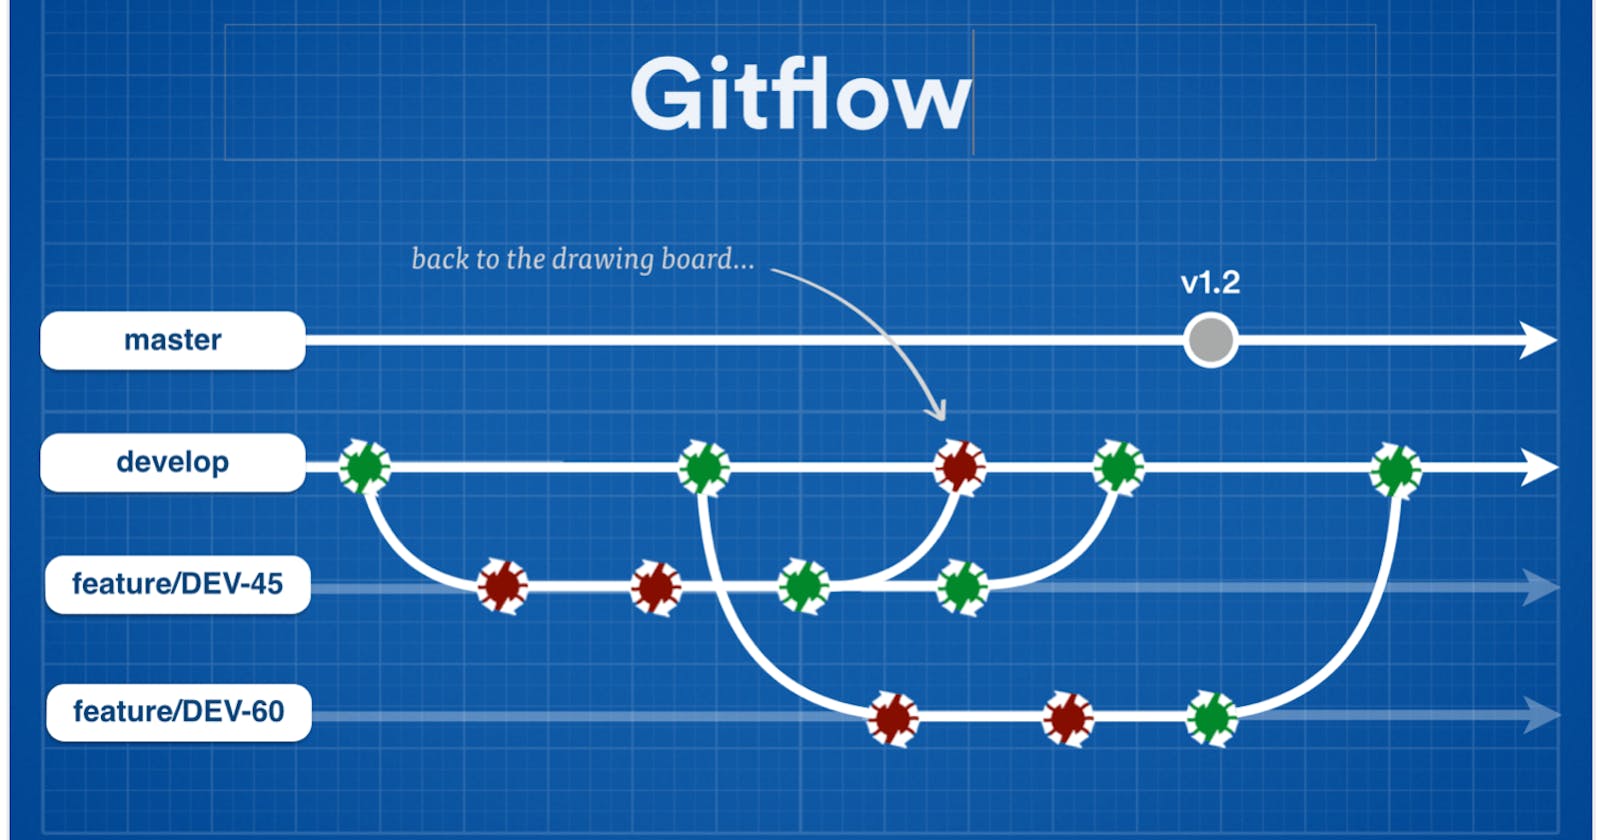
Git Branching
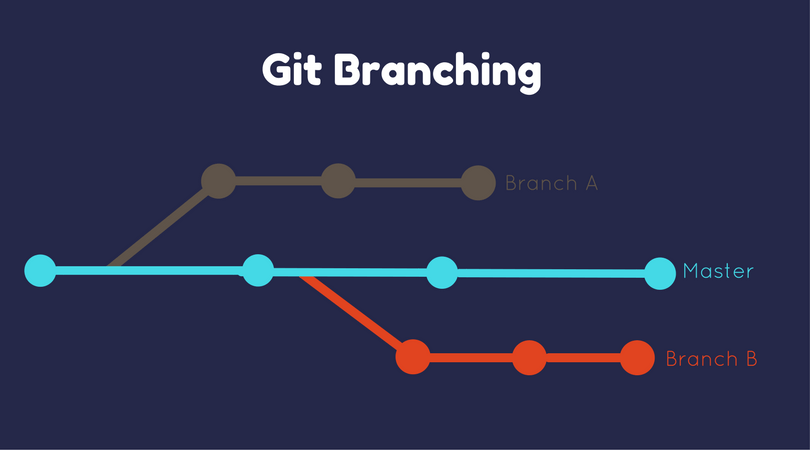
Branching allows you to create isolated workspaces within a Git repository. It's like having multiple independent versions of your codebase, enabling:
Feature Development: Isolate development of new features without affecting the main codebase (often "master").
Bug Fixes: Work on fixes in a separate branch without jeopardizing the working code.
Experimentation: Test new ideas in a safe environment without impacting the main code.
Here's the workflow:
Create a Branch: Use
git checkout -b <branch_name>to create a new branch from the current HEAD commit.Switch Branches: Use
git checkout <branch_name>to switch to an existing branch and begin working on it.Merge Branches: Once development is complete, use
git merge <branch_name>to integrate changes back into the main branch (usually "master").Delete Branches (Optional): After merging, delete the feature branch with
git branch -d <branch_name>.
Branching fosters:
Isolation: Prevents accidental changes to the main codebase.
Collaboration: Enables multiple developers to work on different aspects simultaneously.
Experimentation: Provides a safe environment for testing new ideas.
Git Revert and Reset
Both git revert and git reset undo changes, but with key differences:
git revert: Creates a new commit that effectively reverses the previous commit, leaving the original history intact. It's a safe and recommended option.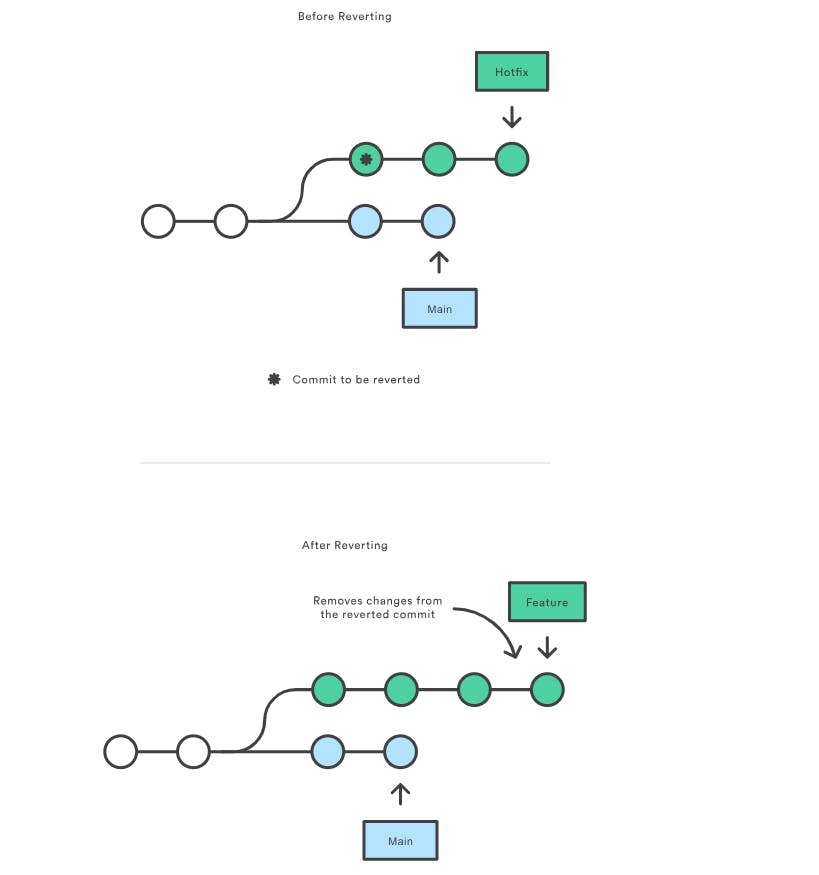
git reset: Rewrites history by moving the HEAD pointer to a specific commit, essentially deleting the following commits. Use with caution! This can be problematic if others have already pulled your code with the "deleted" commits.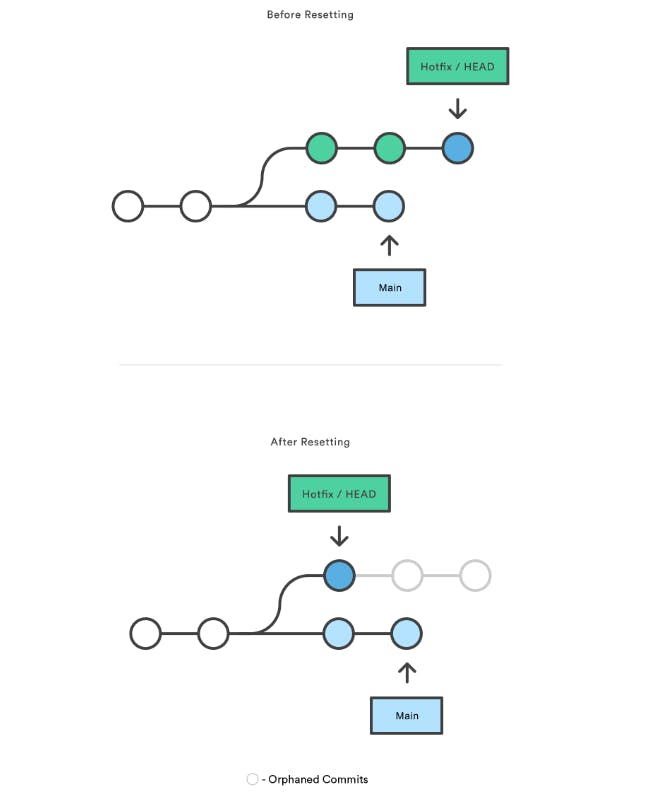
Example:
You accidentally commit a bug.
Use
git revert HEAD~1to create a new commit that reverts the previous (buggy) commit, preserving the original history.
Remember: git reset is powerful, but use it thoughtfully as it can cause confusion and collaboration issues if not used carefully.
Git Rebase and Merge
Both methods integrate code from one branch into another, but have distinct approaches:
git rebase: Re-applies the commits from one branch (usually a feature branch) on top of another branch (usually "master"). It rewrites history, creating a linear history as if the commits were originally made on the target branch.git merge: Creates a new "merge commit" that reflects the integration of two branches. It maintains the original history of both branches, leading to a more complex history with additional merge commits.
When to use which:
Use
git rebasewhen:You want a clean, linear history for your main branch.
You are working on a branch alone or with a small, closely coordinated team.
Use
git mergewhen:You want to maintain a clear history of changes from each branch.
You are working in a larger team where others might have already pulled your code, and rewriting history with
git rebasecould cause issues.
Remember: While git rebase offers a cleaner history, use it with caution and ensure others haven't already pulled your code before rebasing, as it can lead to conflicts and confusion.
Hands on Practice
Task 1: Branching, Committing, and Reverting in Git:
Create a new branch and add content:
Create a new branch named "dev":
git checkout -b dev
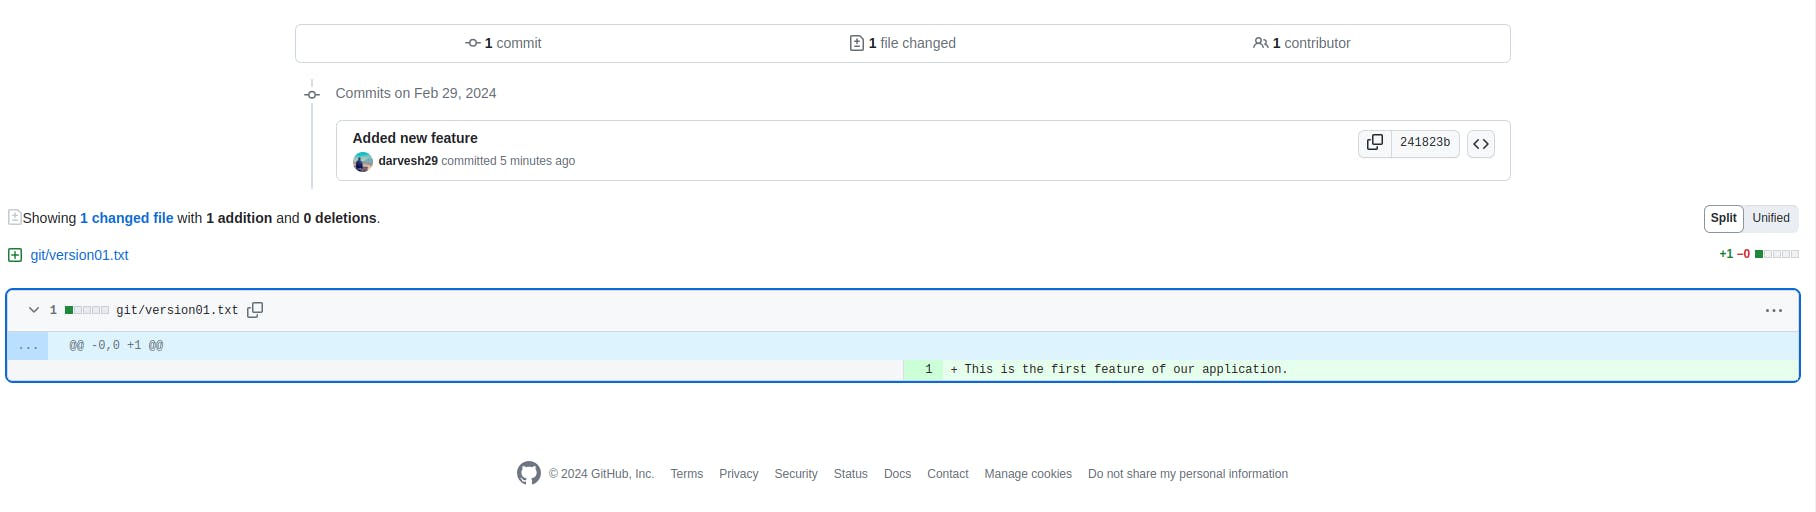
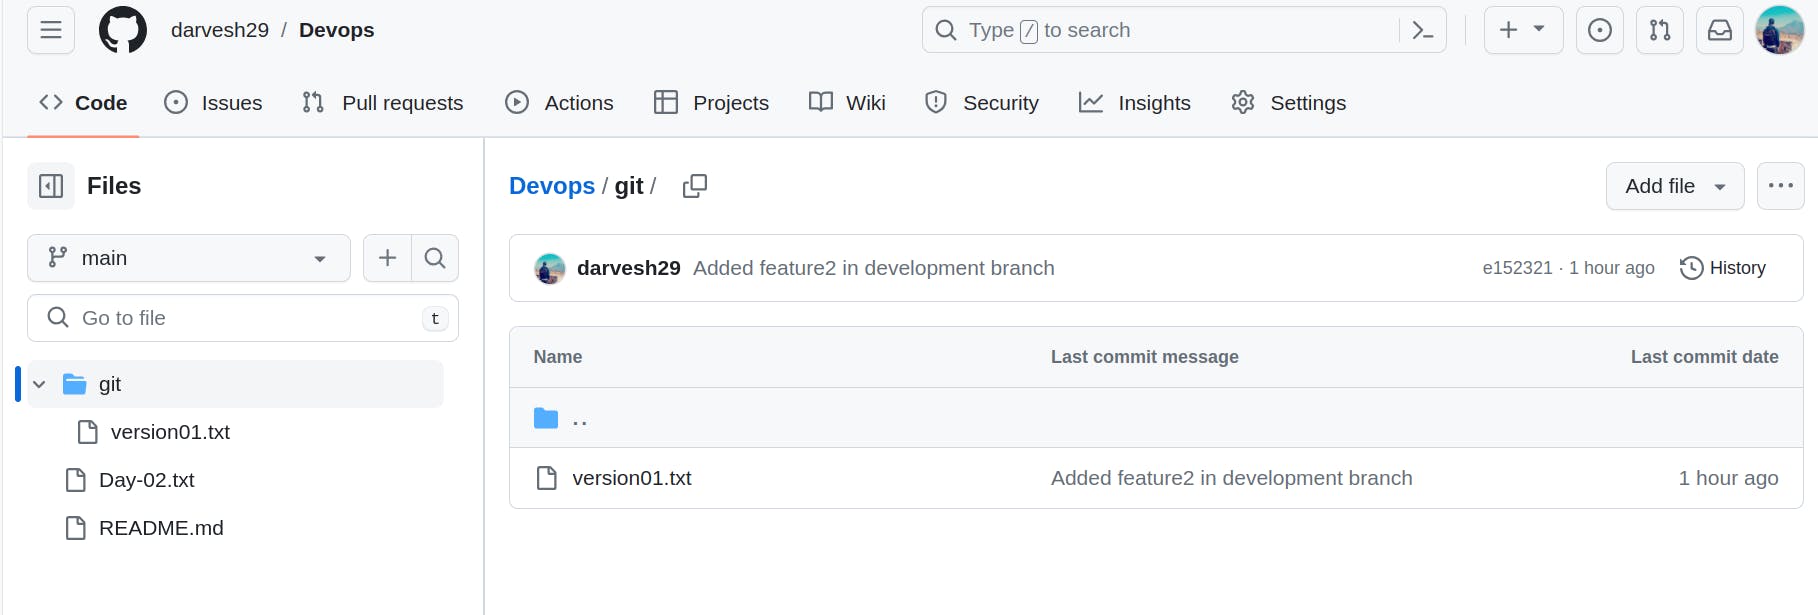
Create a file named "version01.txt" inside the "Devops/Git/" directory with the content: "This is the first feature of our application."


Stage and commit the changes:
git add version01.txt,git commit -m "Added new feature"
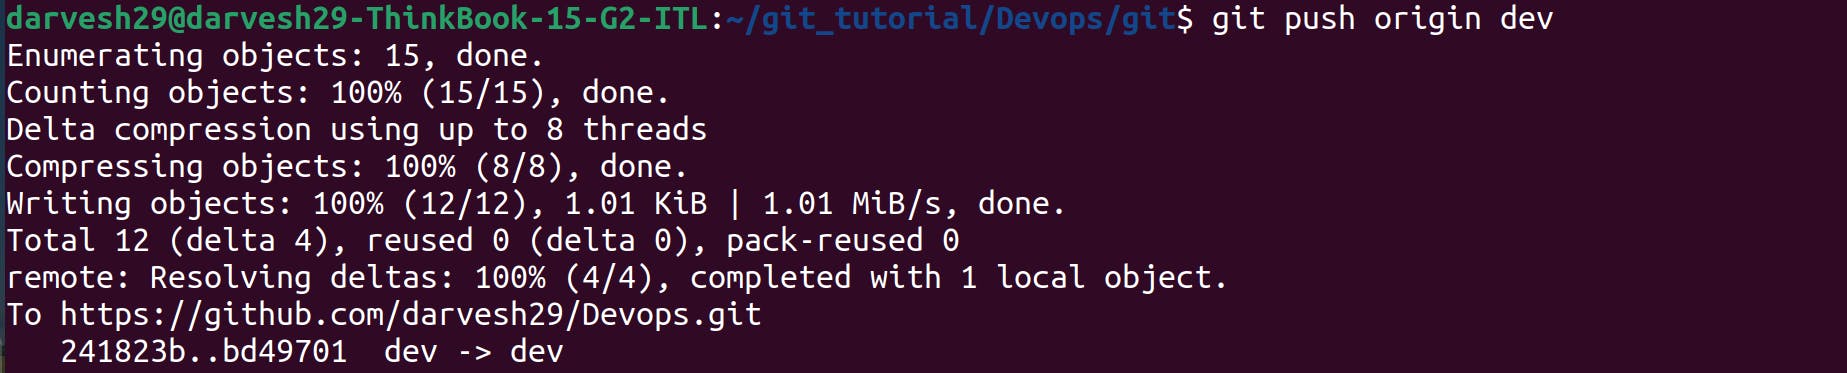
Push your changes to the remote "dev" branch:
git push origin dev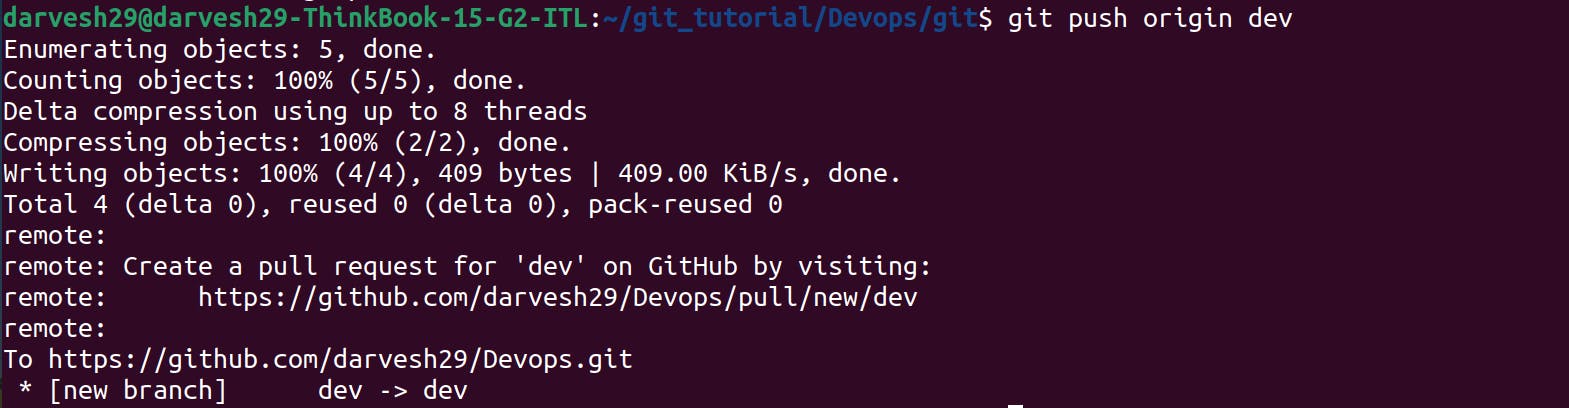
Add and commit multiple features (with deliberate mistakes):
Switch to the "dev" branch:
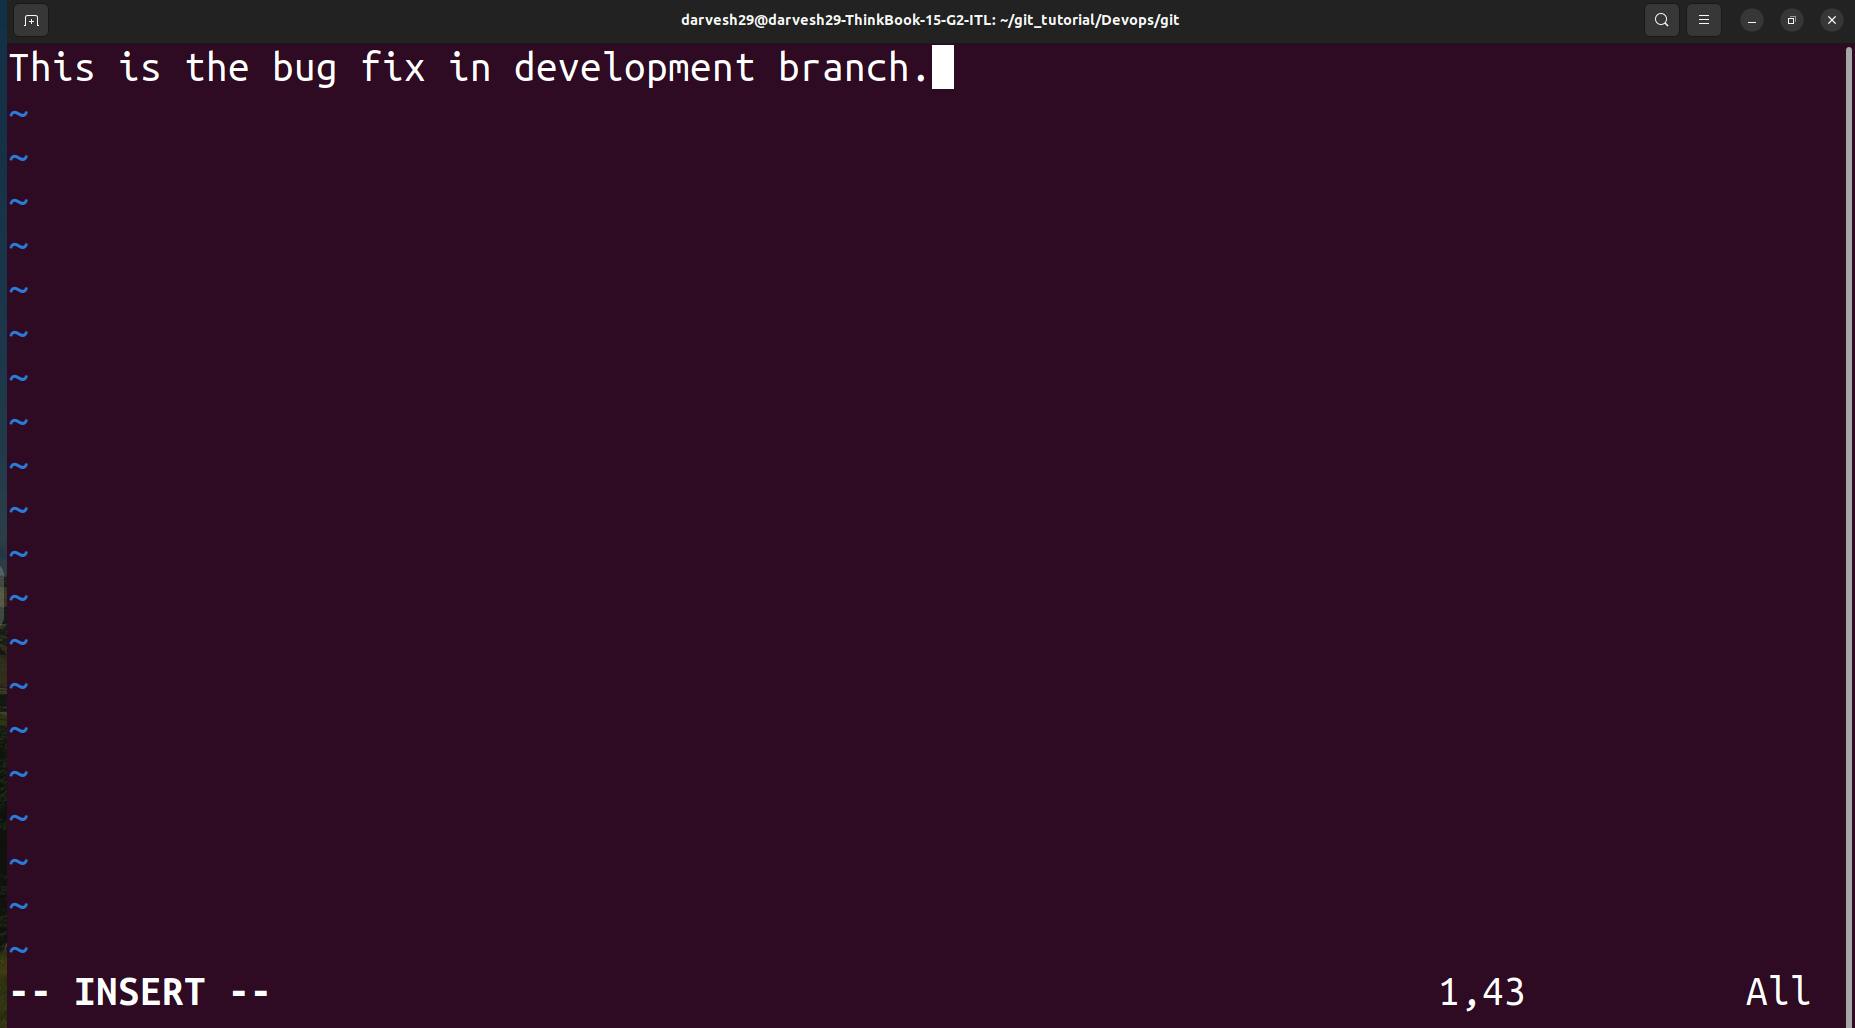
git checkout devOpen "version01.txt" and add the following lines:
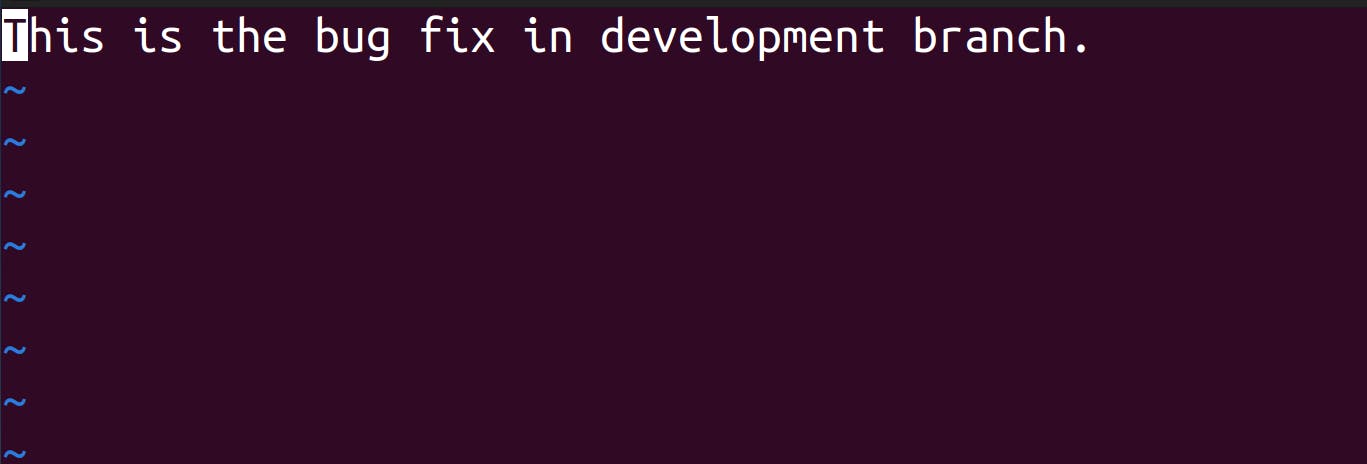
Line 1: "This is the bug fix in development branch"
(Commit this change with the message "Added feature2 in development branch":
git add version01.txt,git commit -m "Added feature2 in development branch")
Line 2: "This is gadbad code"
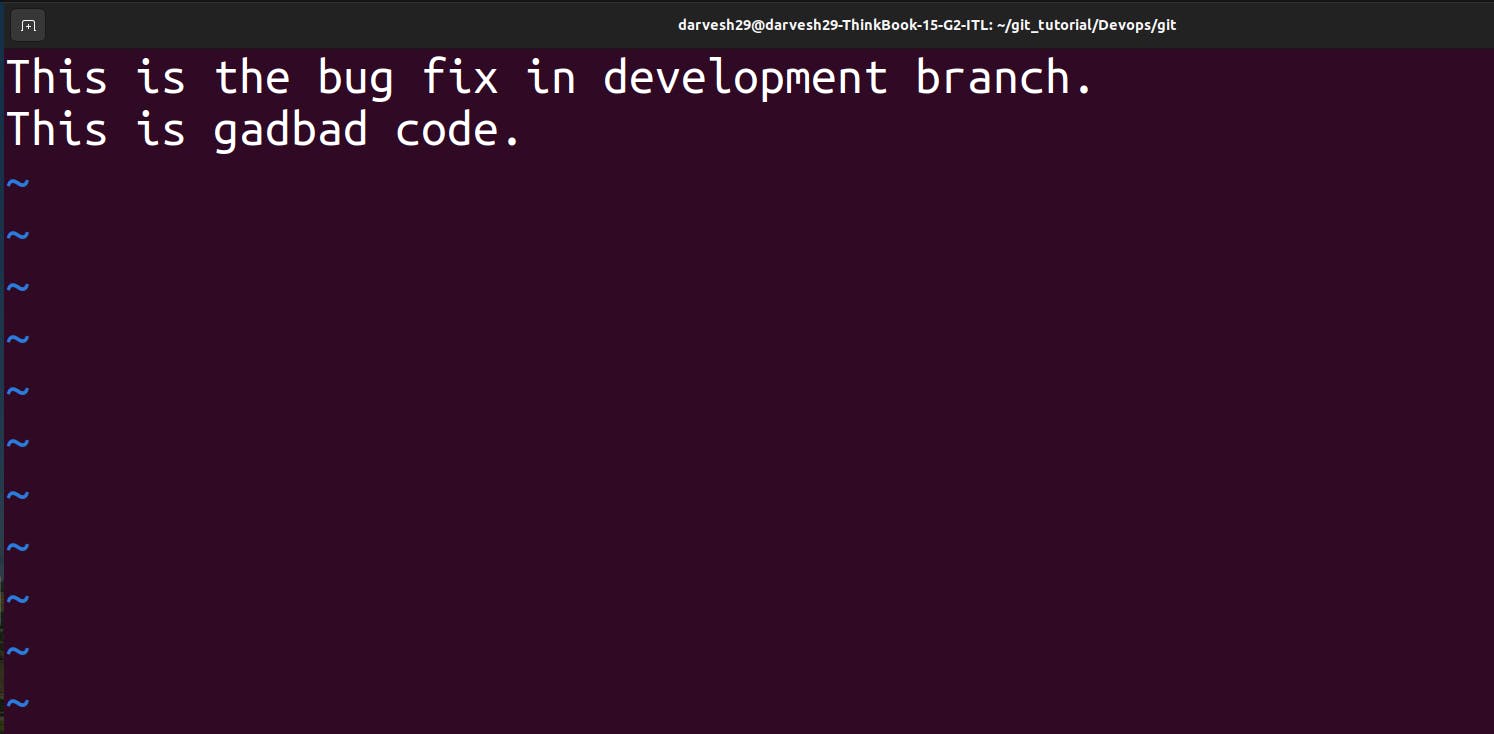
Commit this change with the message "Added feature3 in development branch":
git add version01.txt,git commit -m "Added feature3 in development branch"
Line 3: "This feature will gadbad everything from now."
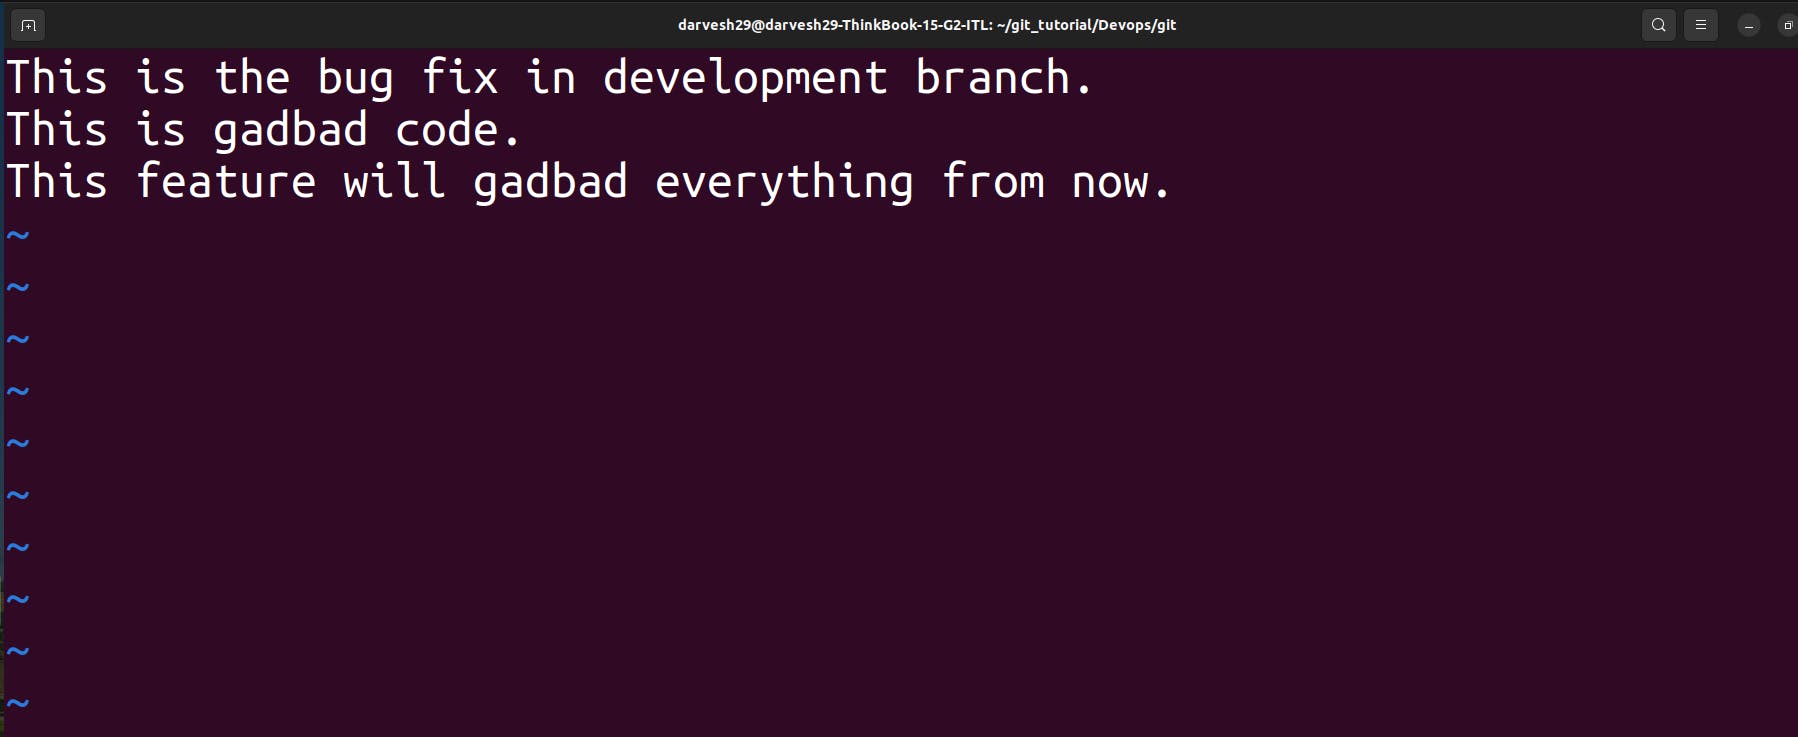
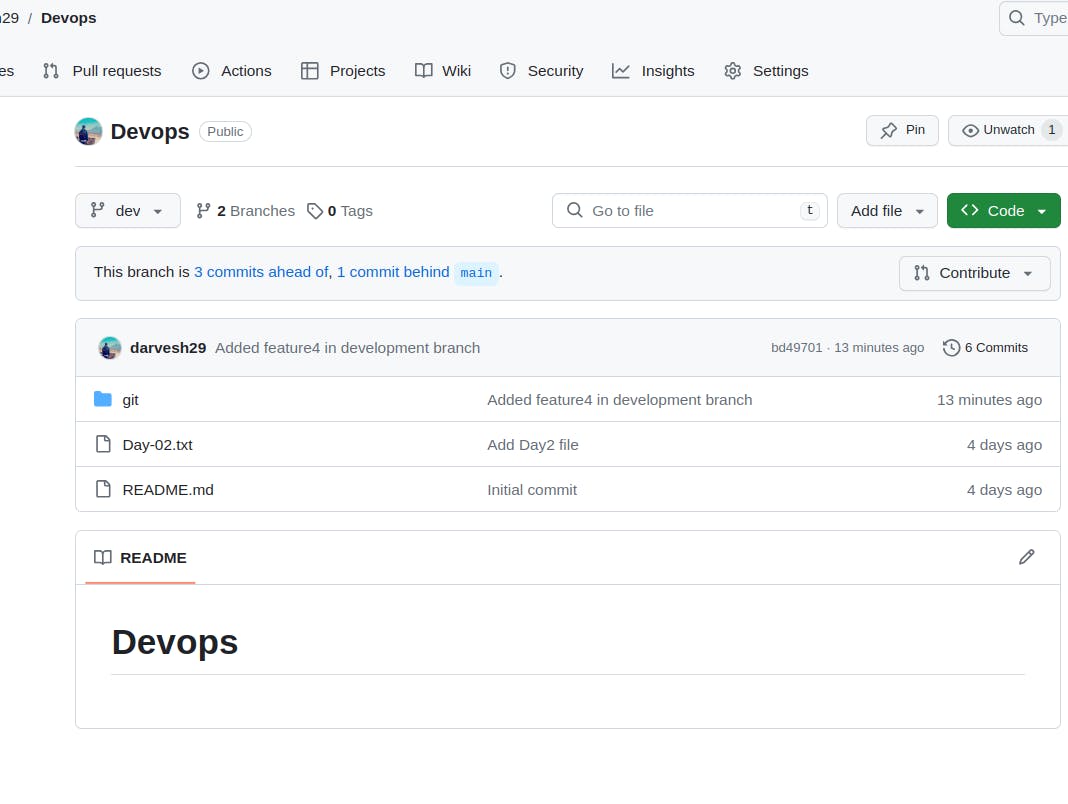
Commit this change with the message "Added feature4 in development branch":
git add version01.txt,git commit -m "Added feature4 in development branch"
Revert to a previous version:
You want to revert to the version before the last two commits (containing the "gadbad" lines). You have two options:
a) Using
git revert: This creates a new commit that effectively reverses the previous commit.git revert HEAD~2 # Reverts the last two commitsb) Using
git reset(be cautious! Use only if you understand the consequences): This rewrites history by moving the HEAD pointer to a specific commit.Warning: Use this command with caution as it rewrites history and can cause issues if others have already pulled your code.
git reset --hard HEAD~2 # Resets to the commit before the last two commits
Task 2: Demonstrating Branches and Merging:
Create another branch:
Create a new branch named "feature":
git checkout -b feature
Add changes to the "dev" branch (optional):
Switch back to the "dev" branch:
git checkout devYou can add some additional changes to this branch if you want to demonstrate merging with more modifications.
Merge the "dev" branch into the "master" branch:
Switch to the "main" branch:
git checkout mainMerge the "dev" branch into the "main" branch:
git merge dev
Resolve any merge conflicts that might arise (if you have added conflicting changes in "dev" and "main").
Push the merged changes to the remote "master" branch:
git push origin main
Dev Branch merged into main branch.
By completing these tasks, you've gained practical experience with creating and managing branches, committing changes, reverting to previous versions, merging branches.
Conclusion
Congratulations! You've successfully explored advanced Git functionalities. By mastering these concepts, you'll:
Increase Collaboration Efficiency: Seamlessly integrate individual contributions into the codebase, fostering a collaborative development environment.
Maintain a Clean Codebase: Effectively resolve conflicts and prevent inconsistencies, ensuring a well-organized and robust codebase.
Track Changes Effectively: Maintain a clear and comprehensive history of changes through meaningful commit messages associated with each action.
Enhance DevOps Workflows: Streamline your development pipeline, enabling efficient and effective deployments.
Remember, continuous practice is key. Experiment with these functionalities within your projects and explore their applications in diverse scenarios. As you refine your skills, you'll unlock the full potential of Git, empowering you to navigate the complexities of collaborative software development with confidence.